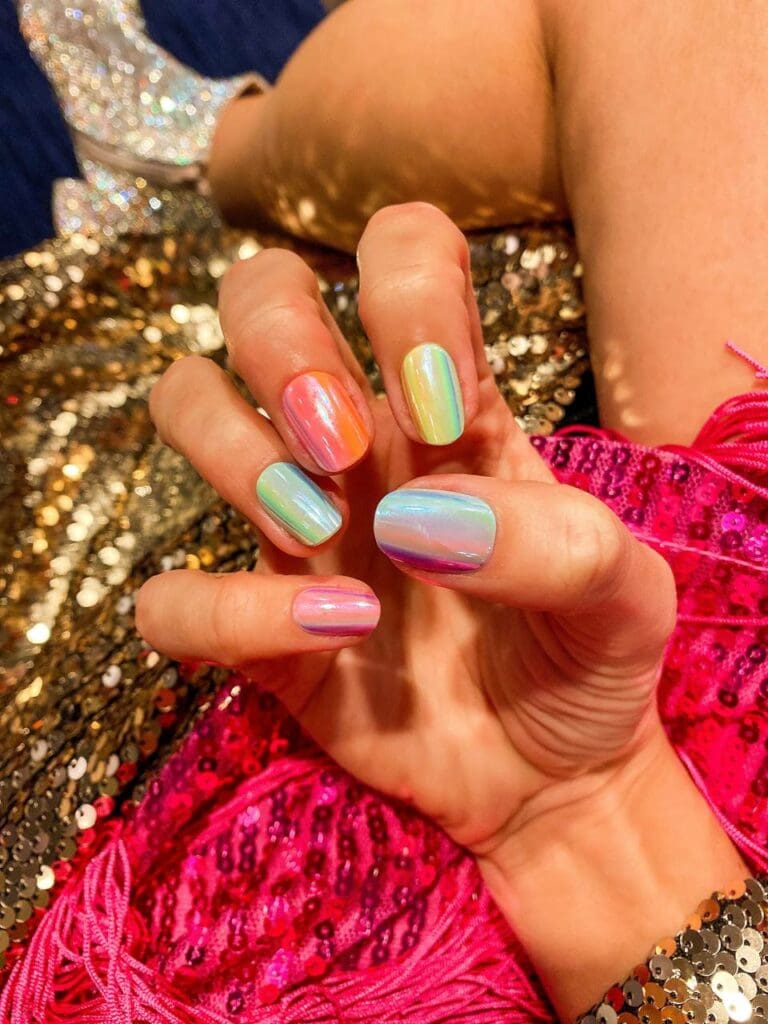
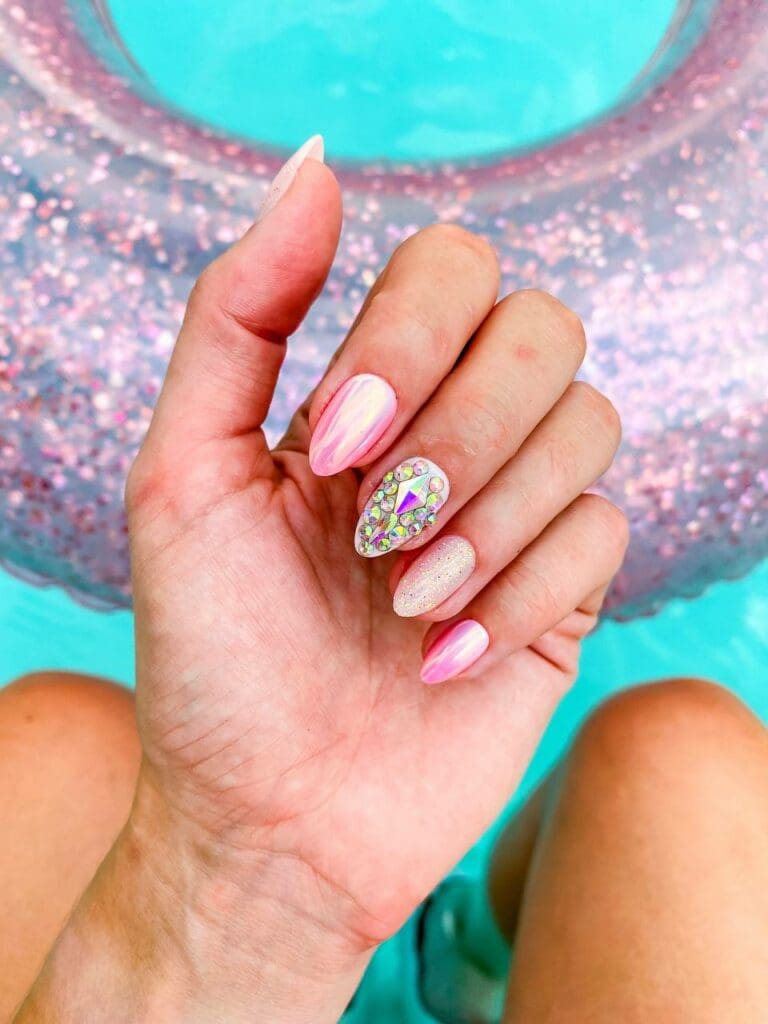
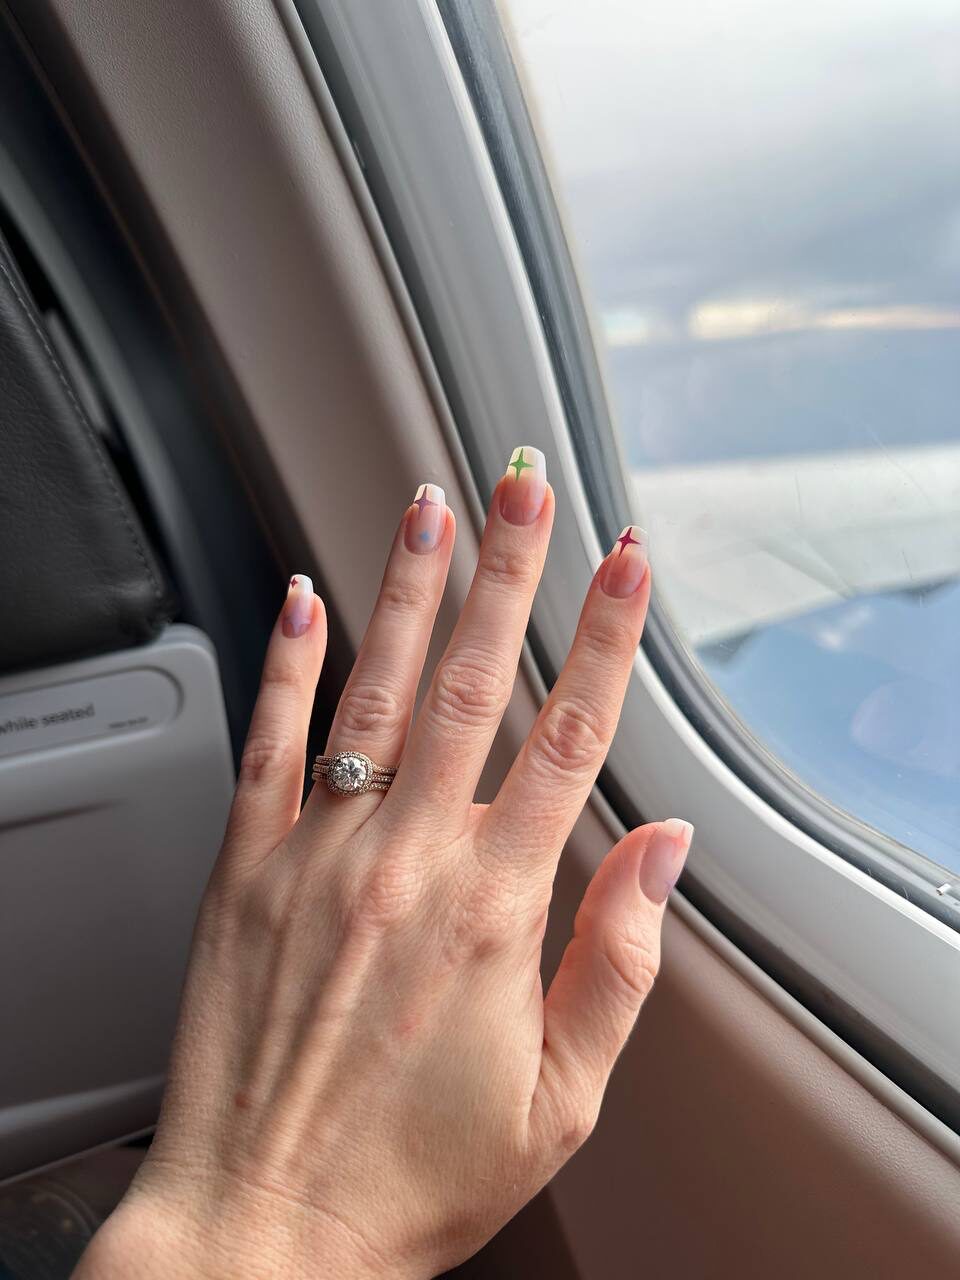
It seems like a mani/pedi is basically a prerequisite to going on vacation. There’s something about having your nails done that makes you strut through the airport a little taller, right? But honestly, there’s already a long enough to-do list before you go out of town. Who on earth has time to sit in a salon for 2 hours just to end up paying a good $120 when it’s all said and done? Getting vacation-ready nails should not break the bank or eat up your precious time! Amen?
It’s been well over a year since I’ve gone to the nail salon and this is why! You’re about to learn one of my not-so-best-kept secrets for saving a ton of time and hard-earned money. If you’re ready to drop the lengthy, expensive salon appointments and say “hellooooo 😍“ to gorgeous, strut-worthy nails, this one’s for you!
Best press-on nails for vacation
Did reading the words “press-on nails” send you back to the ’90s? Stick with me here (you know I love a bad pun…). Press-ons have come quite a long way since the days of sleepovers that left nail glue everywhere. Hands down, the best press-on nails for vacation are Red Aspen Nail Dashes! (I’d love to say the puns will end but, ya know… 🤷♀️)
WHY RED ASPEN?
Not all press-on nails are created equally. There are several reasons why Red Aspen is the best press-on nail, and one of my favorite things of all time, so we’ll just touch on the main points 😉
- Patented design – Red Aspen is the only nail that’s tapered toward the cuticle. That means that it lays closer to your natural nail so your nails look more natural and last longer. But even better… no more hair snags 🙌
- Durability – When you’re getting your nails done for vacation, you want to make sure they’re going to hold up to packing, airports, pools, you name it! What sets these nails apart from the ones you get at Target? The glue. This glue bonds like an acrylic and breaks down over time. What that means is you get a strong hold that keeps your natural nail healthy!
- Easy application – Measure, apply the glue, and press. That’s all it takes! To make application even easier, I highly recommend the brush-on glue! This helps keep mess to a minimum and ensures that your entire nail is covered.
- Variety – RA nails come in petite, short, medium, and long lengths and you’ll find just about any shape your little heart desires! (The acrylic are my personal fave!) You can choose from different lengths, shapes, and finishes that aren’t always possible in the salon (or they’ll cost you an arm and a leg 🥴)
- Customizable – You can easily cut, file, and shape your dashes to be the exact shape you want!
- Price – all of Red Aspen’s nail dashes are under $20. I mean… sounds a lot better than a $120 salon bill, if you ask me!
- On-the-go mani – No time to do your nails before you leave? No problem! You can apply in the car, on a plane, in the airport, wherever works for you!
@itsamandacaldon
HOW TO APPLY
These DIY vacation manis are so easy, even if you’ve never used glue-on nails before! Don’t worry, we’ll get to the pro-tips shortly!
- Start with clean, dry nails – get that polish off!
- Push back cuticles with the cuticle stick that’s included in your mani box.
- Place the dashes on your nails to measure – no glue just yet – and place them to the side, in order.
- Place the glue on your nail and/or the nail dash. Let it dry for 2-3 seconds.
- Apply the nail dash at a 45-degree angle. The number on the dash should go away from the cuticle. Hold pressure for about 30 seconds.
MAKE YOUR VACATION-READY NAILS LAST!
With the tapered design of the nail dash, along with the acrylic-like bond of the glue, you’ll get to enjoy your vacation mani for 2 weeks!! Let’s make sure you get to enjoy those nails as long as possible – here are some pro tips to help you get the most out of your dashes:
- Brush-on glue – If you’ve tried glue-on nails in the past, you may have had a messy experience. When you use the brush-on nail glue, you’ll contain the mess and help evenly cover your nail.
- Clear your cuticles – In order to get your dashes to fit as closely to your nail bed as possible, use the Cuticle Remover gel to soften your cuticles before you use the stick to push them back.
- Sleep on it – if you’re wanting to cut or file your dashes, apply them right before you go to bed and re-shape them the next morning. This lets the glue set for several hours prior to changing the nail shape. You can shape them with a nail file or get the perfect shape with the Nail Dash Reshaper!
- Prep for pop-offs – Life is busy, especially when traveling. Occasional pop-offs can happen, but no worries! Take your Brush-on Nail Glue on-the-go and just glue that puppy back in place!
DIY MANI REMOVAL
Okay… I need you to pay close attention here. You may need to take some notes because this is something I get asked a lot – “how do you take them off?!”
Ready…?
You soak them in warm, soapy water. That’s it.
Depending on how much glue you use when you apply your nails, you may have to use the cuticle remover stick to help pop them off, but the removal is easy-peasy!

When you’re getting ready to travel with your family, your to-do list is already plenty long enough. You can give yourself that same boost of confidence with a DIY mani at home! (And tbh… it’s kind of a rush every time someone compliments your nails and you say “you won’t believe they’re glue-on!”)


